Component testing with Cypress in Next.js
Component testing in Cypress speeds you up while working for a broad range of concerns. All while increasing your coverage and reducing the complexity of your test suite.

Published — 16 min read
Who are your tests for?
When you're testing the frontend of any application, your primary concern will be two broad groups of people. Developers and end-users people using your product.
A good test should act as a guard rail for both these groups. Yes, your tests should be for current and future you, speeding you up and covering your ass.
Your tests should also be for.. people.
People like yourself, and people that are different to you. People that have different concerns and expectations to you.
So when writing tests, pause for a moment and account for other ways to experience your product. Try to cover aspects ranging from functionality to the visual and non-visual experience of your end-product.
Broad coverage made effortless
For a robust frontend application, this would traditionally mean that you'll have to reach for a handful of tools. Each one neatly covering an aspect of unit, integration and end-to-end (E2E) tests. Plus a tool or three to cover visuals and accessibility. Including some overlapping areas of responsibility within each, just to be safe.
This is time-consuming.
Learning all these tools in the first place takes time. You'll also have to configure them, write all the tests, and work hard to maintain both the tools and the tests.
Oh, the scope changed? Let me just quickly update my component, aaand the jest tests, cypress tests, Storybook stories and the playwright suite.
There's an easier way to approach this, and that's leveraging component testing.
Component tests unify your unit and visual tests in a way that rewards you with similar benefits and coverage as you would in an E2E test. Without the complex setup, time-consuming maintenance, long run time, and arguably trickier debugging.
Introducing Cypress component testing
Component testing in Cypress 10+ gives you an incredible developer experience when writing tests. Especially if Cypress is already a tool you're leveraging for integration or E2E tests.
In component tests, you're able to test the look, feel and functionality of any component separately. Completely away from the rest of your application logic. This separation empowers you to develop with confidence at speed as you can break your work down into smaller more wieldy pieces.
Imagine if @testing-library/react and Storybook had a baby. That's Cypress component testing in a nutshell.
Taking Cypress component testing for a spin in Next.js
To prove the power of component tests in Cypress, and how easy they are to set up, I'll break down a quick example from a Next.js project.
The example will cover a ThemeToggle component that switches a website between light and dark mode. It'll cover the usage of CSS modules with SCSS. In addition, we'll go through how you can set this up for doing some automated accessibility testing with cypress-axe.
How to install cypress and cypress-axe
Add the libraries as development dependencies to begin
yarn add cypress cypress-axe -D

# or
npm i cypress cypress-axe -D

# or
pnpm i cypress cypress-axe -D
Make sure that cypress is at least version 10 or higher to get access to component testing.
After installing, you should add scripts to your package.json that'll allow you to open Cypress, and to run your component tests headlessly.
{
  "scripts": {
    "cy:open": "cypress open",
    "cy:run": "cypress run --component"
  }
}
Now run yarn cy:open and go through the setup wizard, or what Cypress calls the LaunchPad.
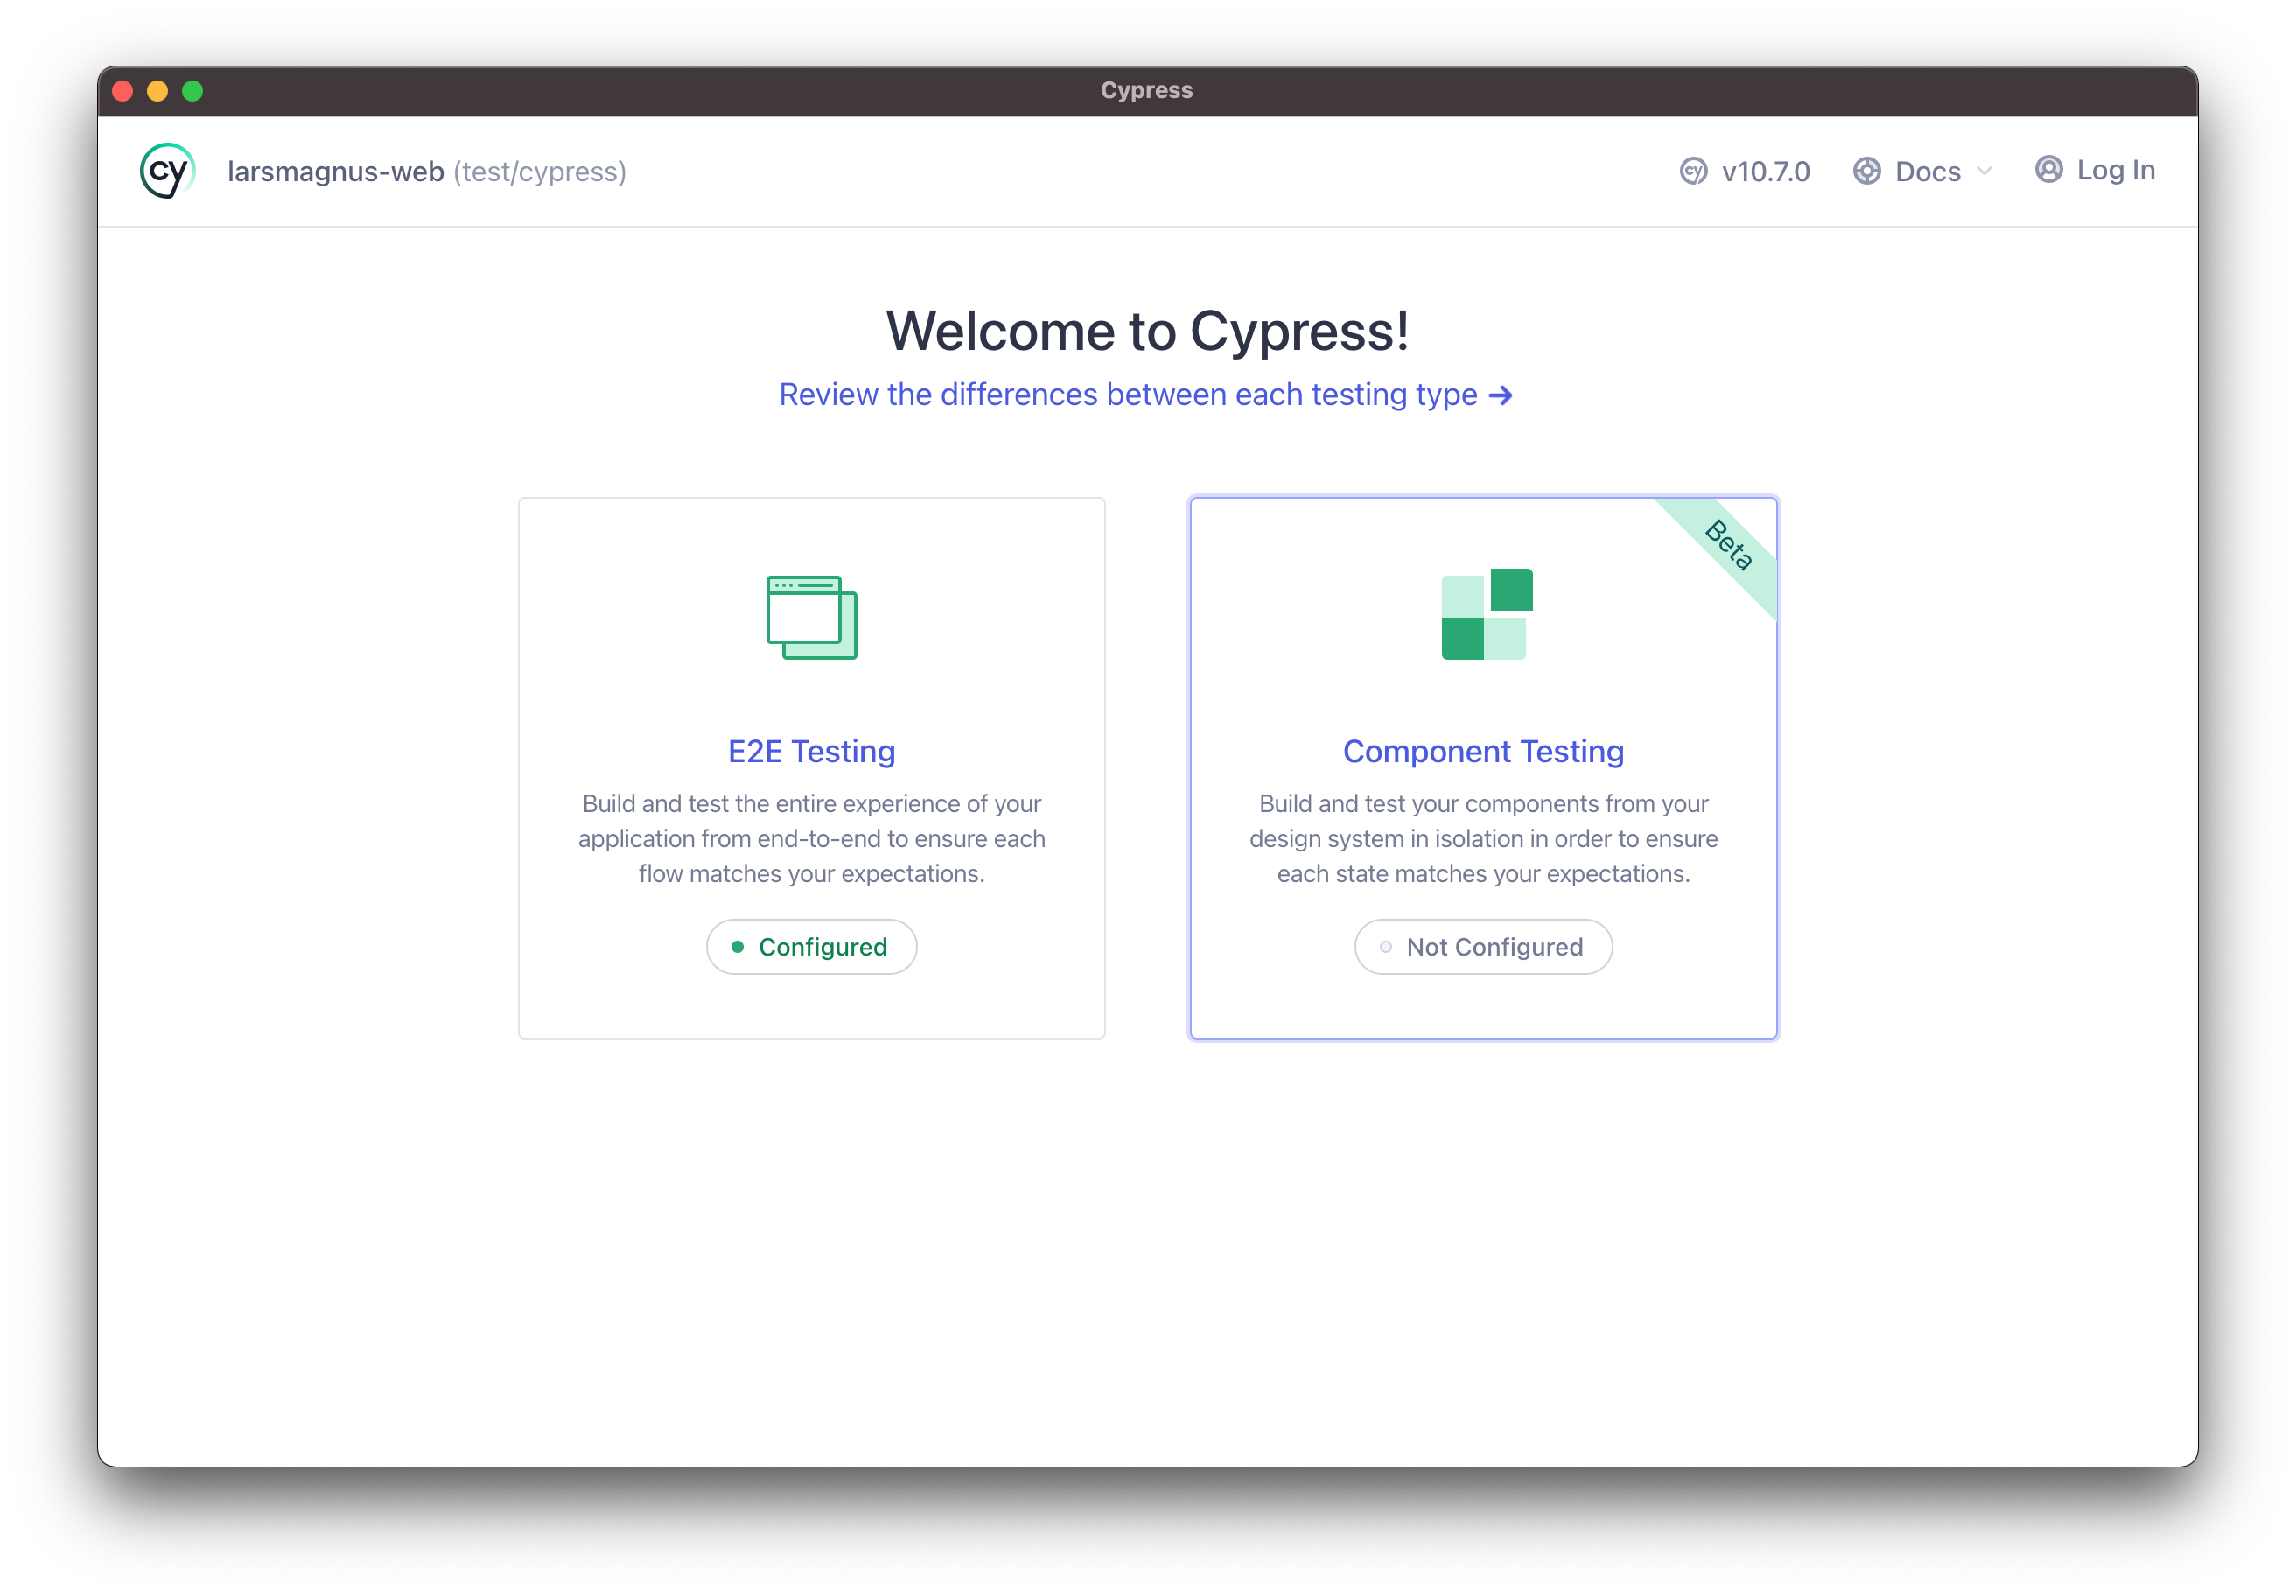
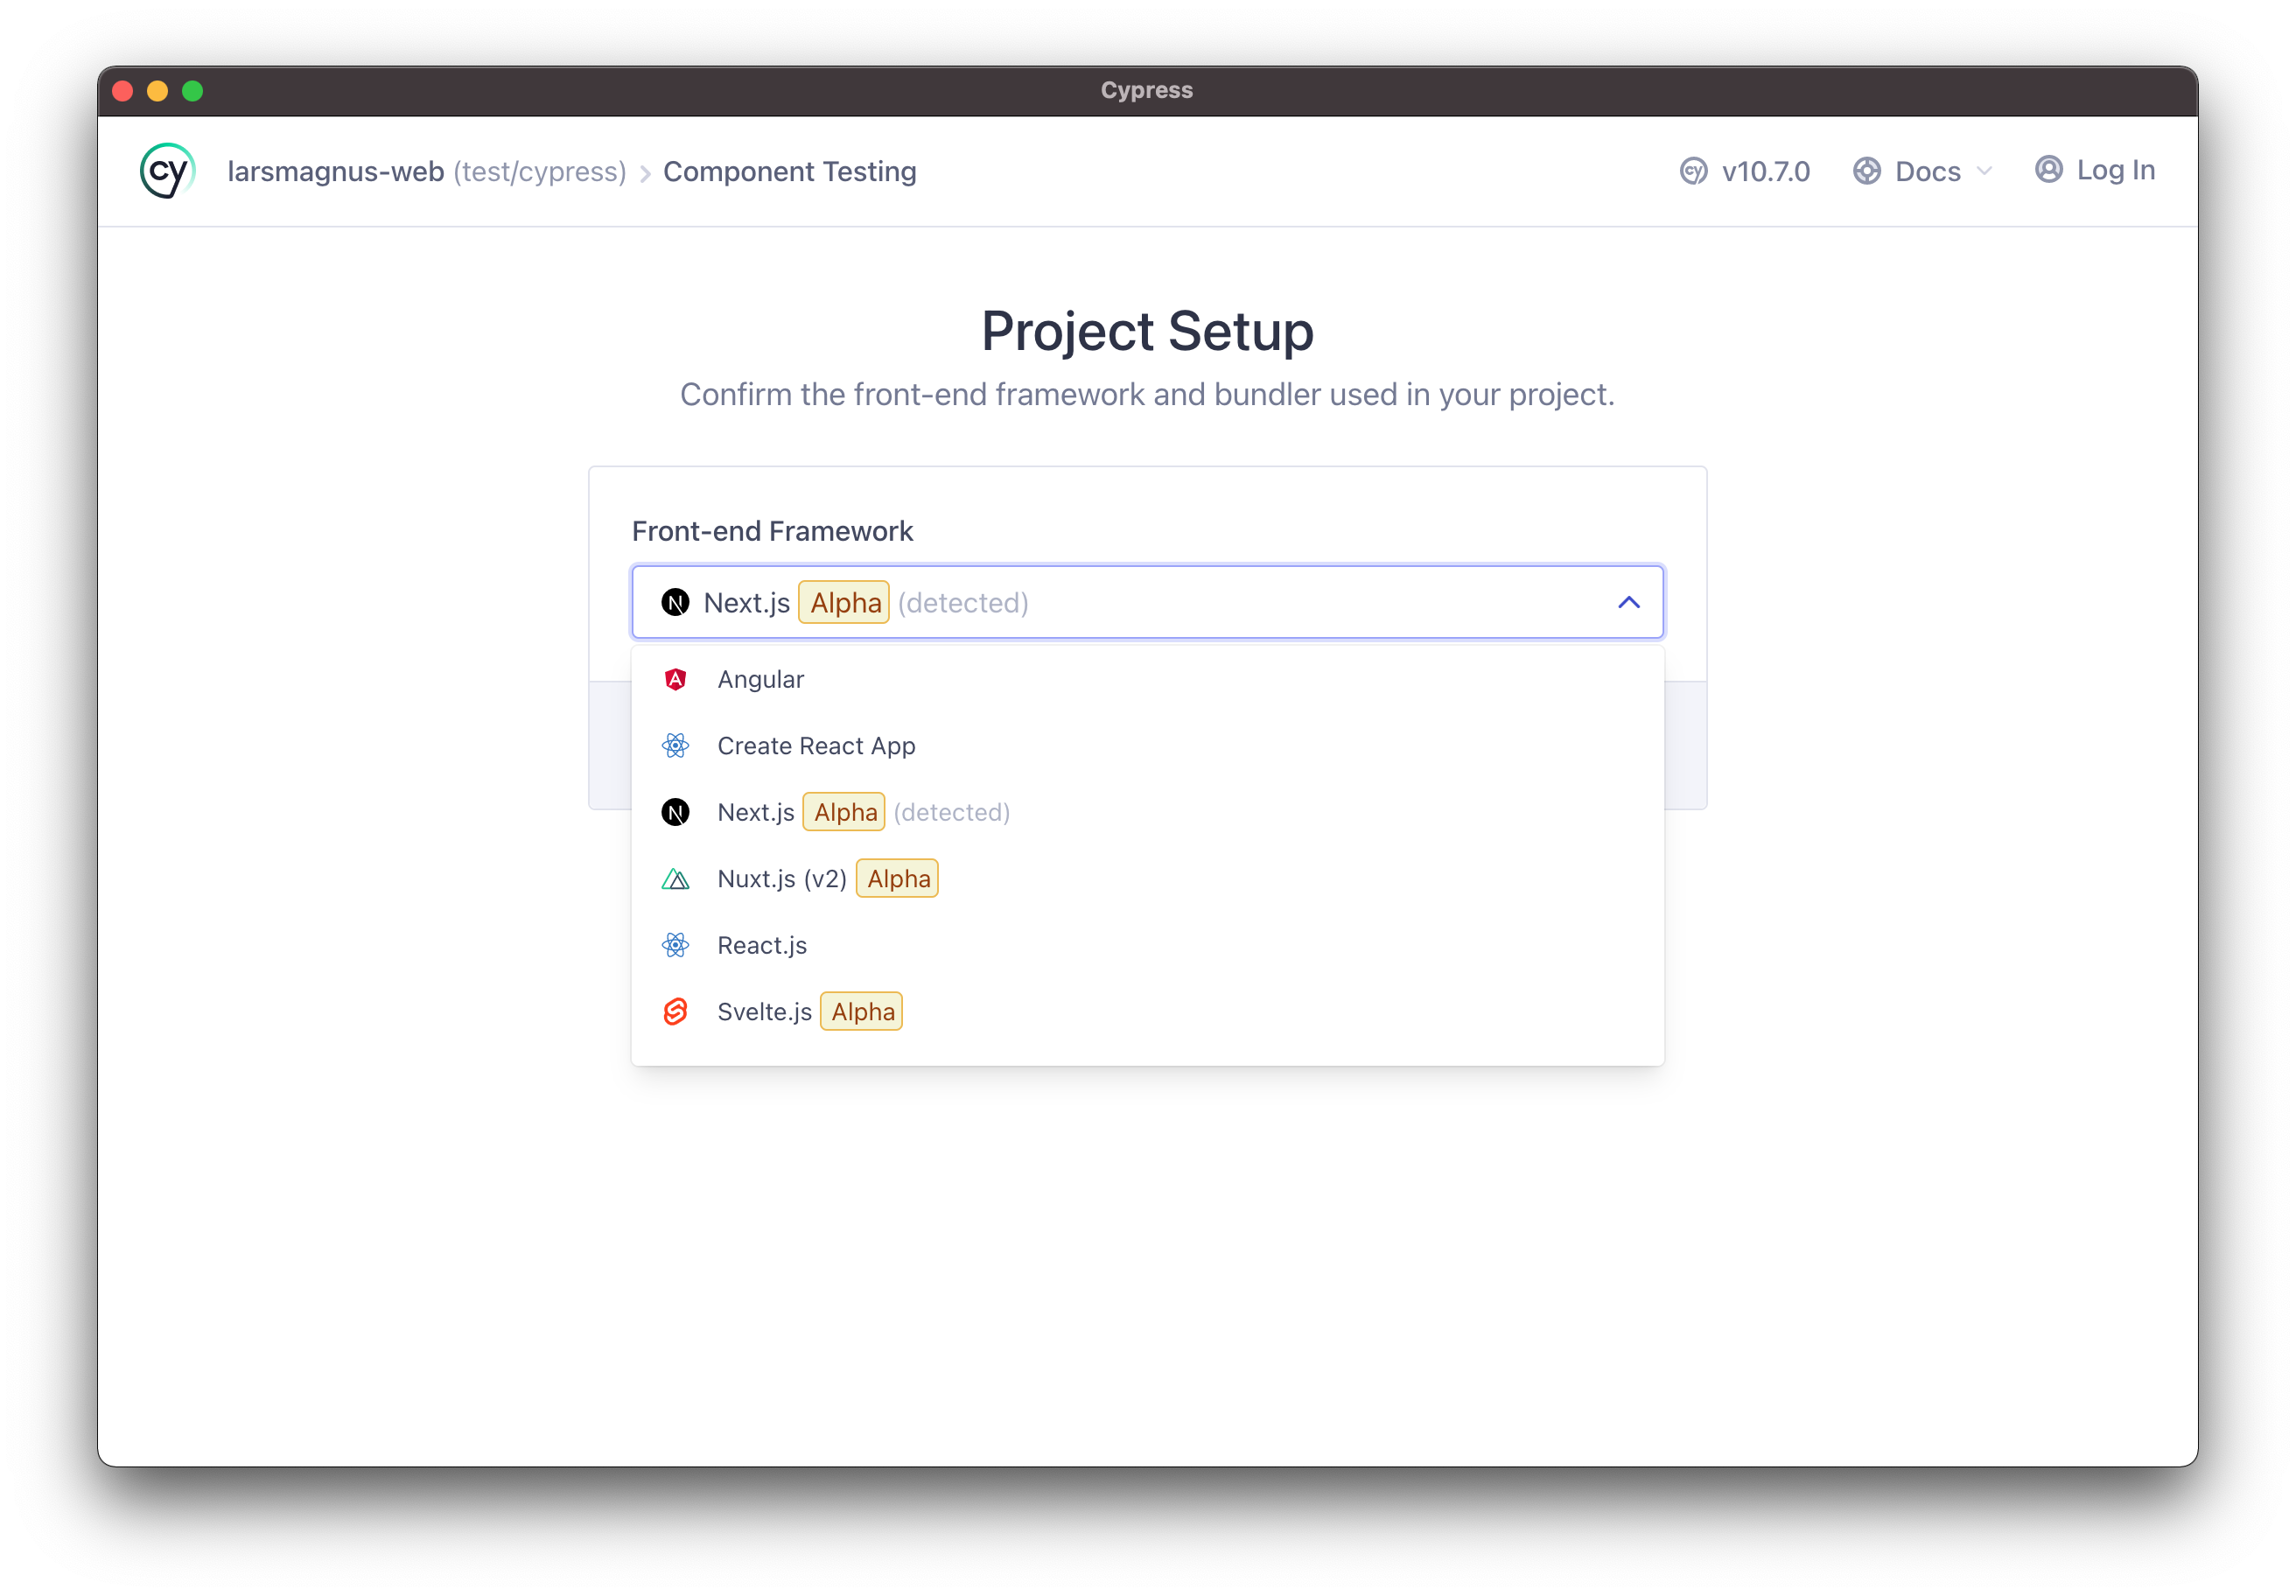
Click "Component Testing" and leave all the options as default, making sure that the chosen framework is correct. In this case "Next.js".
If you want to run through the configuration for E2E testing later you can do this by clicking "Switch testing type" in the LaunchPad.
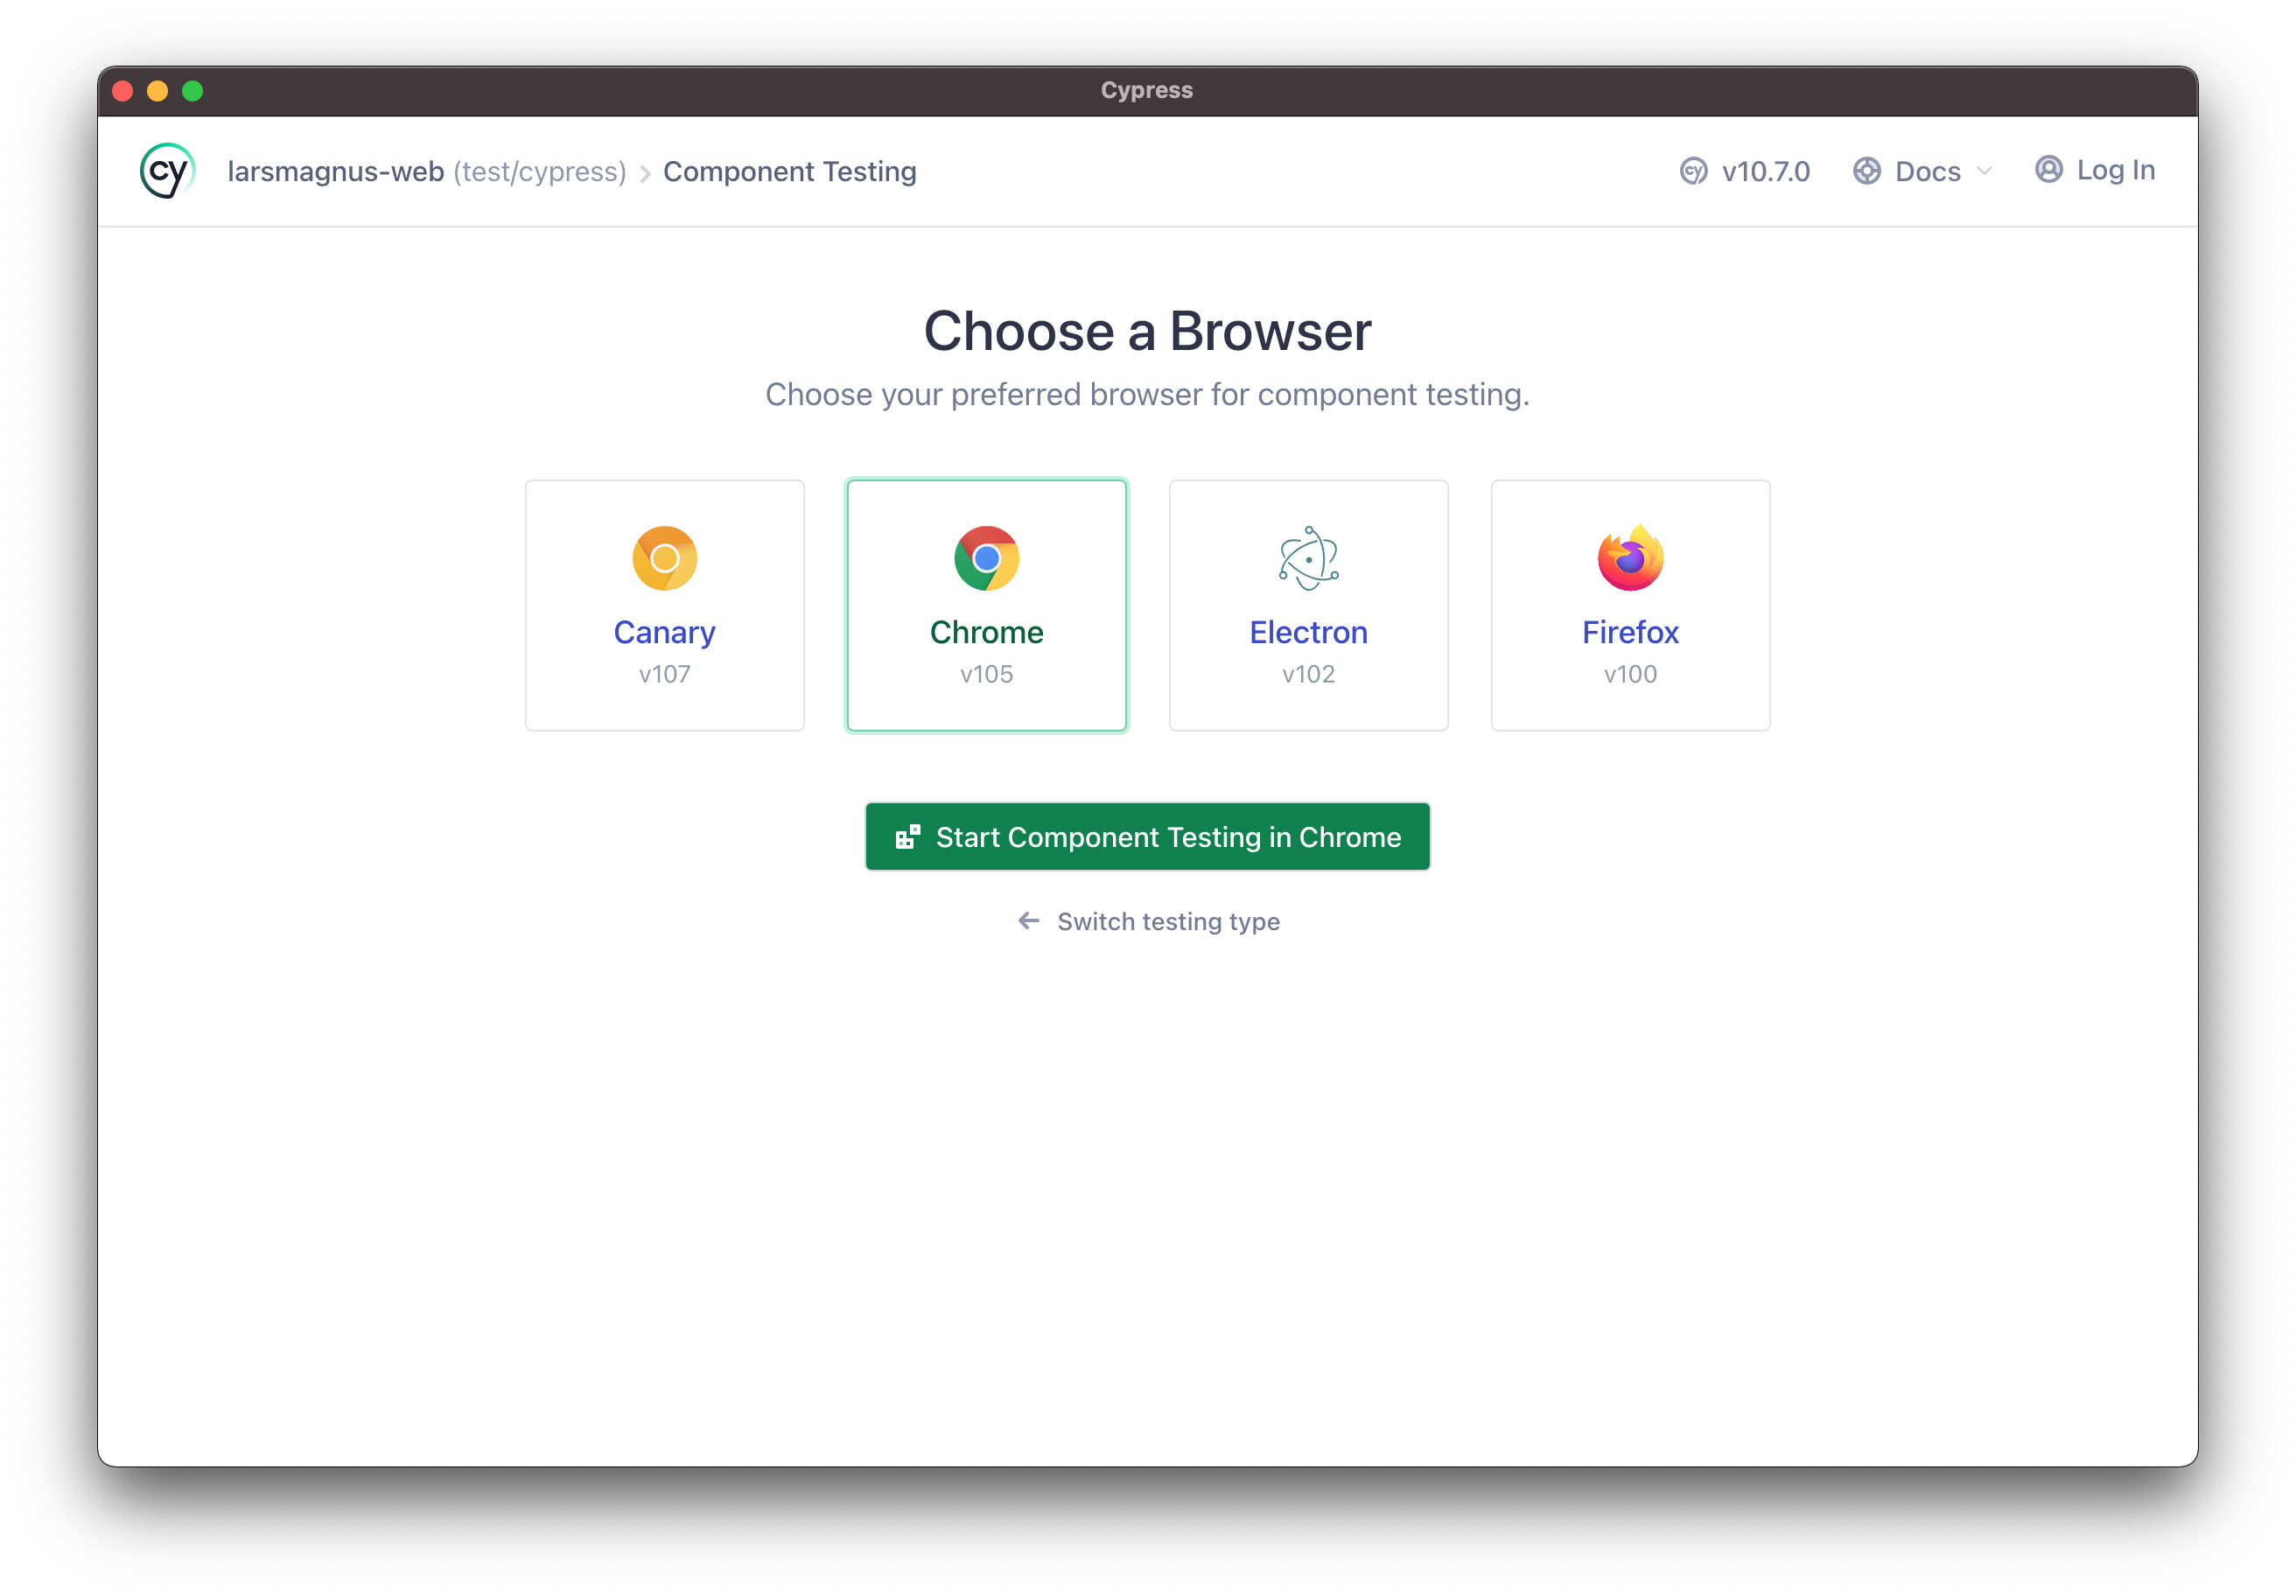
Continue through the remaining steps leaving everything as default, then pick your browser and press start!
Configuring Cypress
After completing the guided setup for component testing, you will automatically have most of the files you need.
Your Cypress config file located at the root of your project should look something like this:
import { defineConfig } from 'cypress'

export default defineConfig({
  component: {
    devServer: {
      framework: 'next',
      bundler: 'webpack',
    },
  },
})
See the Cypress docs to view in-depth information on specific framework configuration to suit most of the major popular stacks. If you're testing something that uses getServerSideProps or getStaticProps, consider that there are some caveats when configuring component tests for Next.js.
The guided setup includes TypeScript support and starter examples for E2E and component testing to get you started quickly.
Getting TypeScript to play nicely
TypeScript will probably yell and throw a bunch of red squigglies at you after going through the setup.
It should be fairly straightforward to fix, and the following three tweaks will likely do the trick:
- adding types to your root
tsconfig.json - adding a
tsconfig.jsontocypress/ - adding
'plugin:cypress/recommended'to your eslint config.
cypress and node may get added automatically to your root tsconfig.json when going through the setup, so you'll likely just have to add in cypress-axe.
{
  "compilerOptions": {
    "baseUrl": "./",
    "target": "es5",
    "lib": ["esnext", "dom"]
  },
  "include": ["next-env.d.ts", "**/*.ts", "**/*.tsx"],
  "types": ["cypress", "cypress-axe", "node"],
  "exclude": ["node_modules"]
}
Adding a tsconfig.json in your cypress/ folder is pretty simple, as you'll just need it to extend the base project file.
{
  "include": ["**/*.ts"],
  "extends": "../tsconfig.json"
}
Finally, this is usually the magic trick that solves most type issues with Cypress. Add plugin:cypress/recommended to your eslint extends if it isn't already there.
module.exports = {
  // ...
  extends: [
    'eslint:recommended',
    'plugin:@next/next/recommended',
    'plugin:cypress/recommended',
  ],
  // ...
}
Importing and mounting a component
We're ready to start testing some components!
Let's add the first spec inside the cypress/components directory, and import ThemeToggle.
/// <reference types="cypress" />

import ThemeToggle from '../../src/components/ThemeToggle'

describe('<ThemeToggle>', () => {
  it('mounts', () => {
    cy.mount(<ThemeToggle />)
  })
})
mount is a new addition in Cypress 10, and the command is automatically added to your support file when going through the guided Cypress setup. It's responsible for rendering your component in the isolated HTML template you can find in cypress/support/component-index.html.
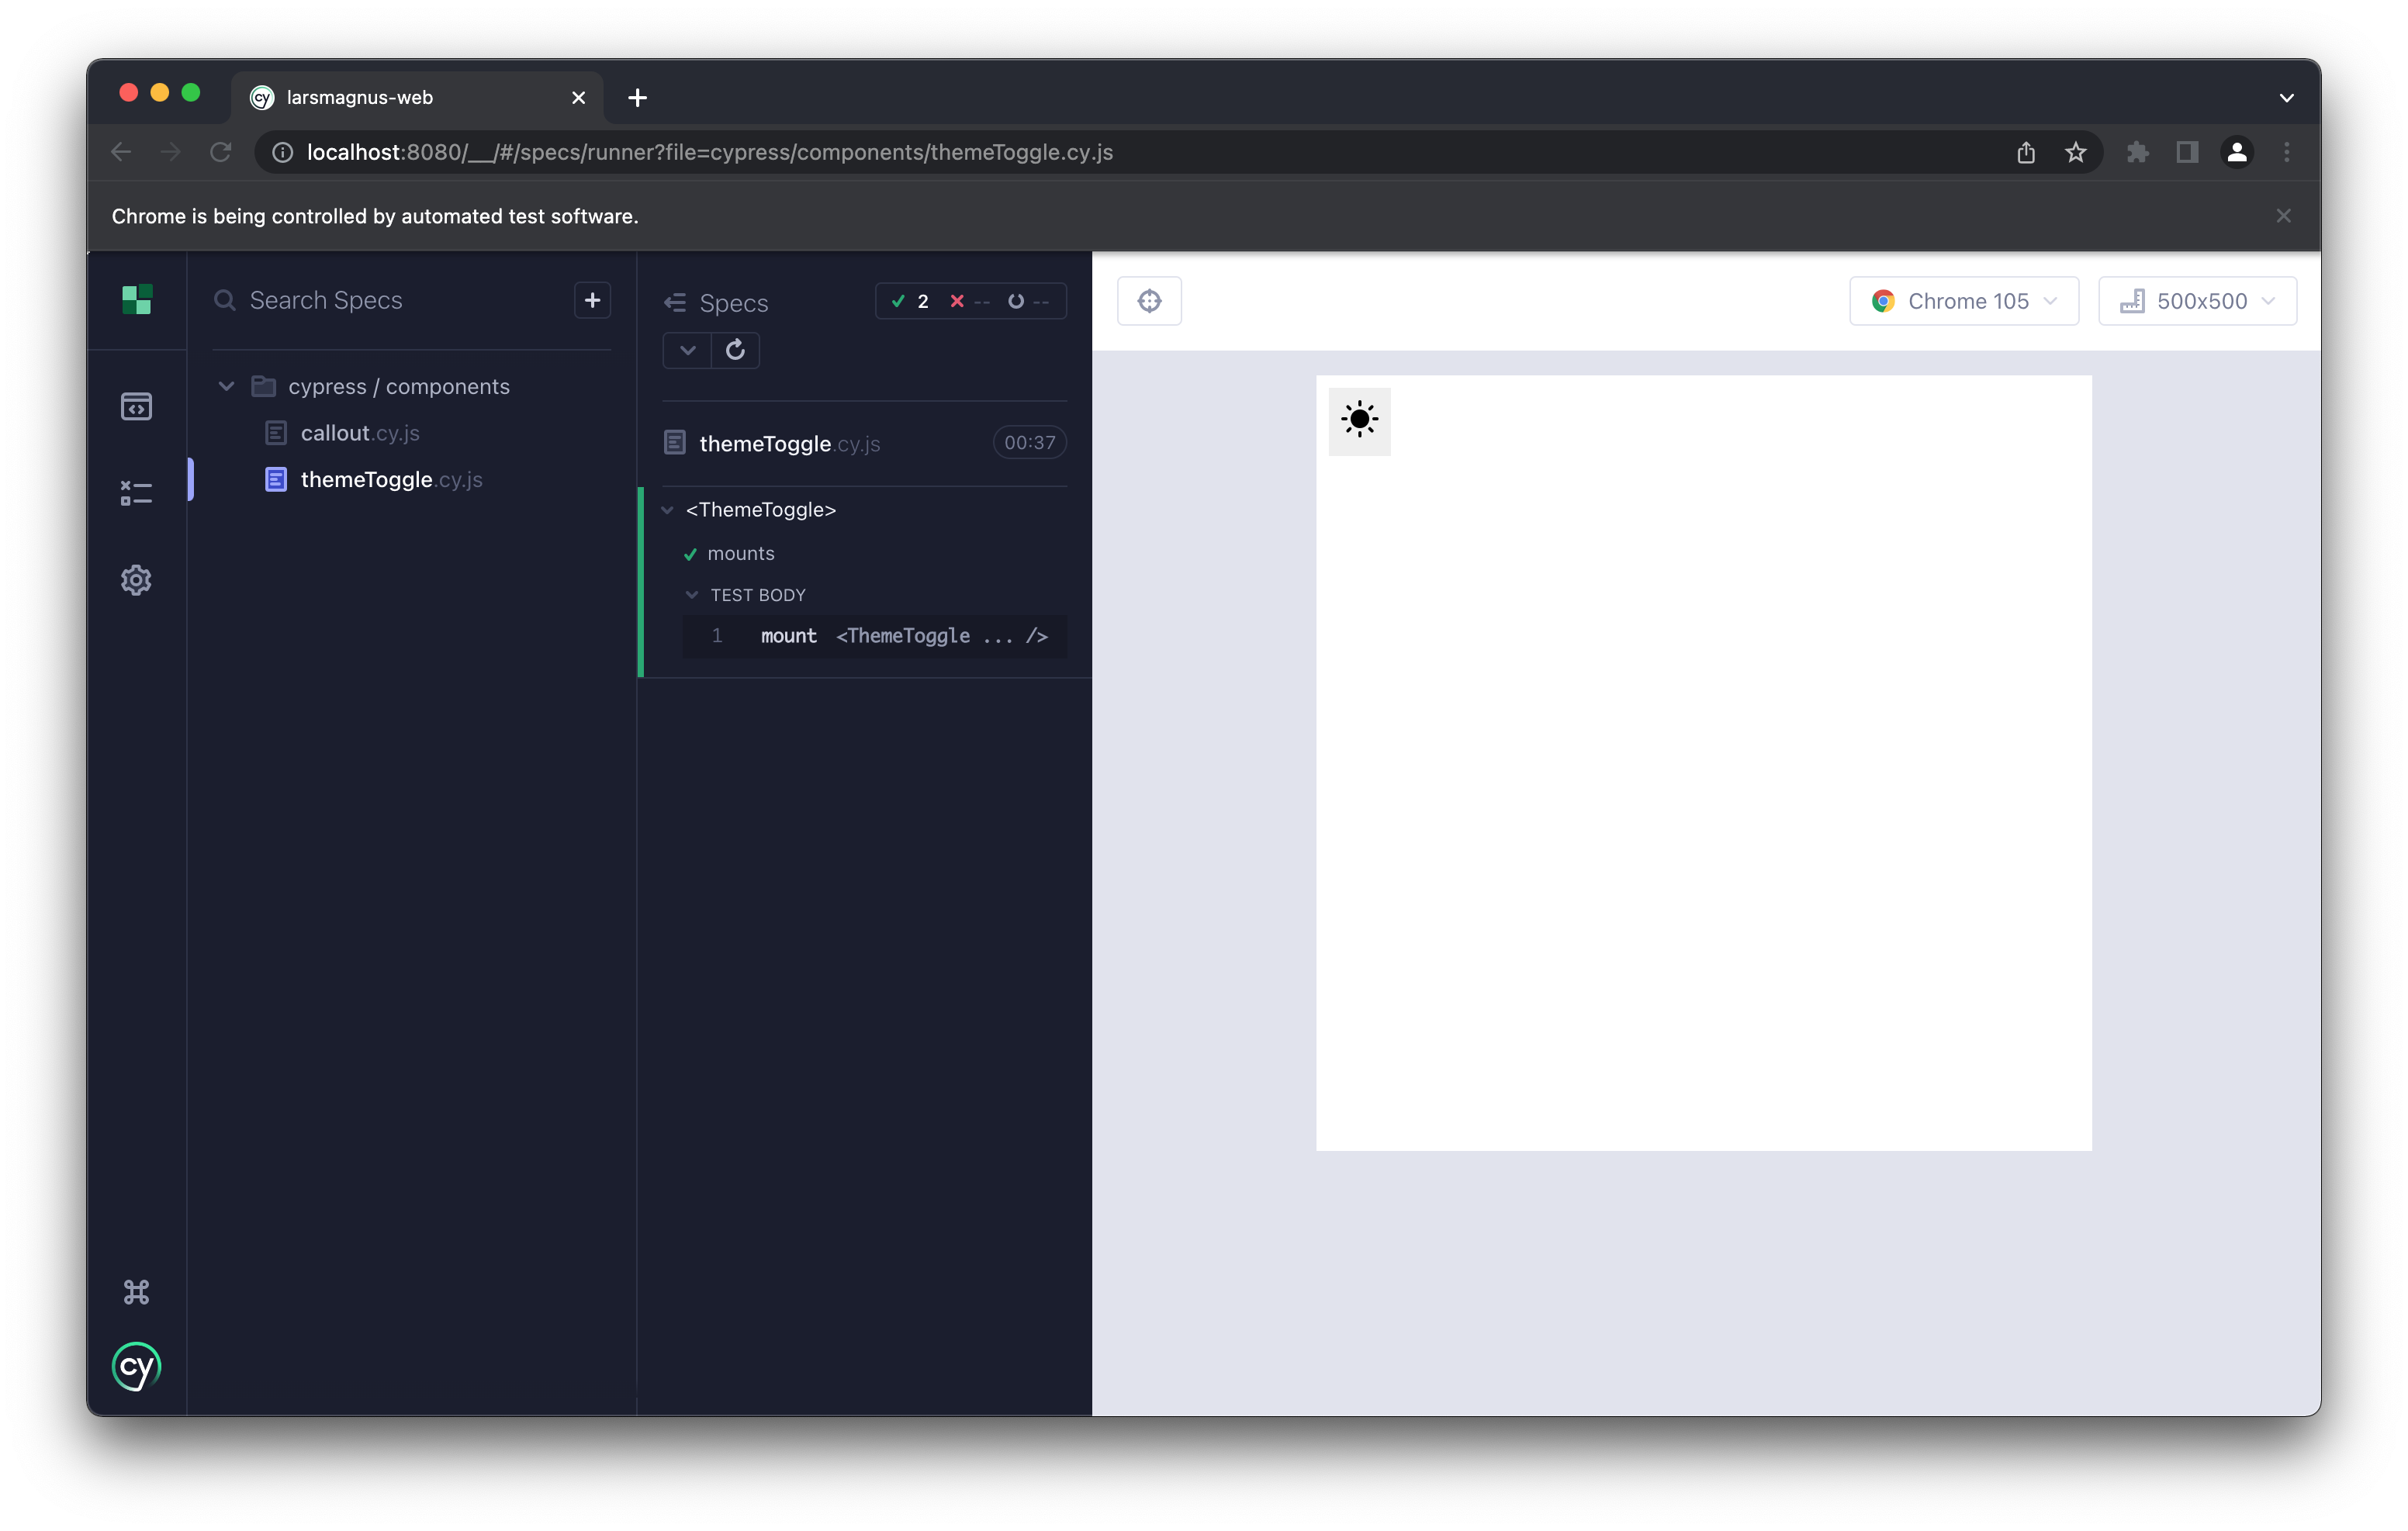
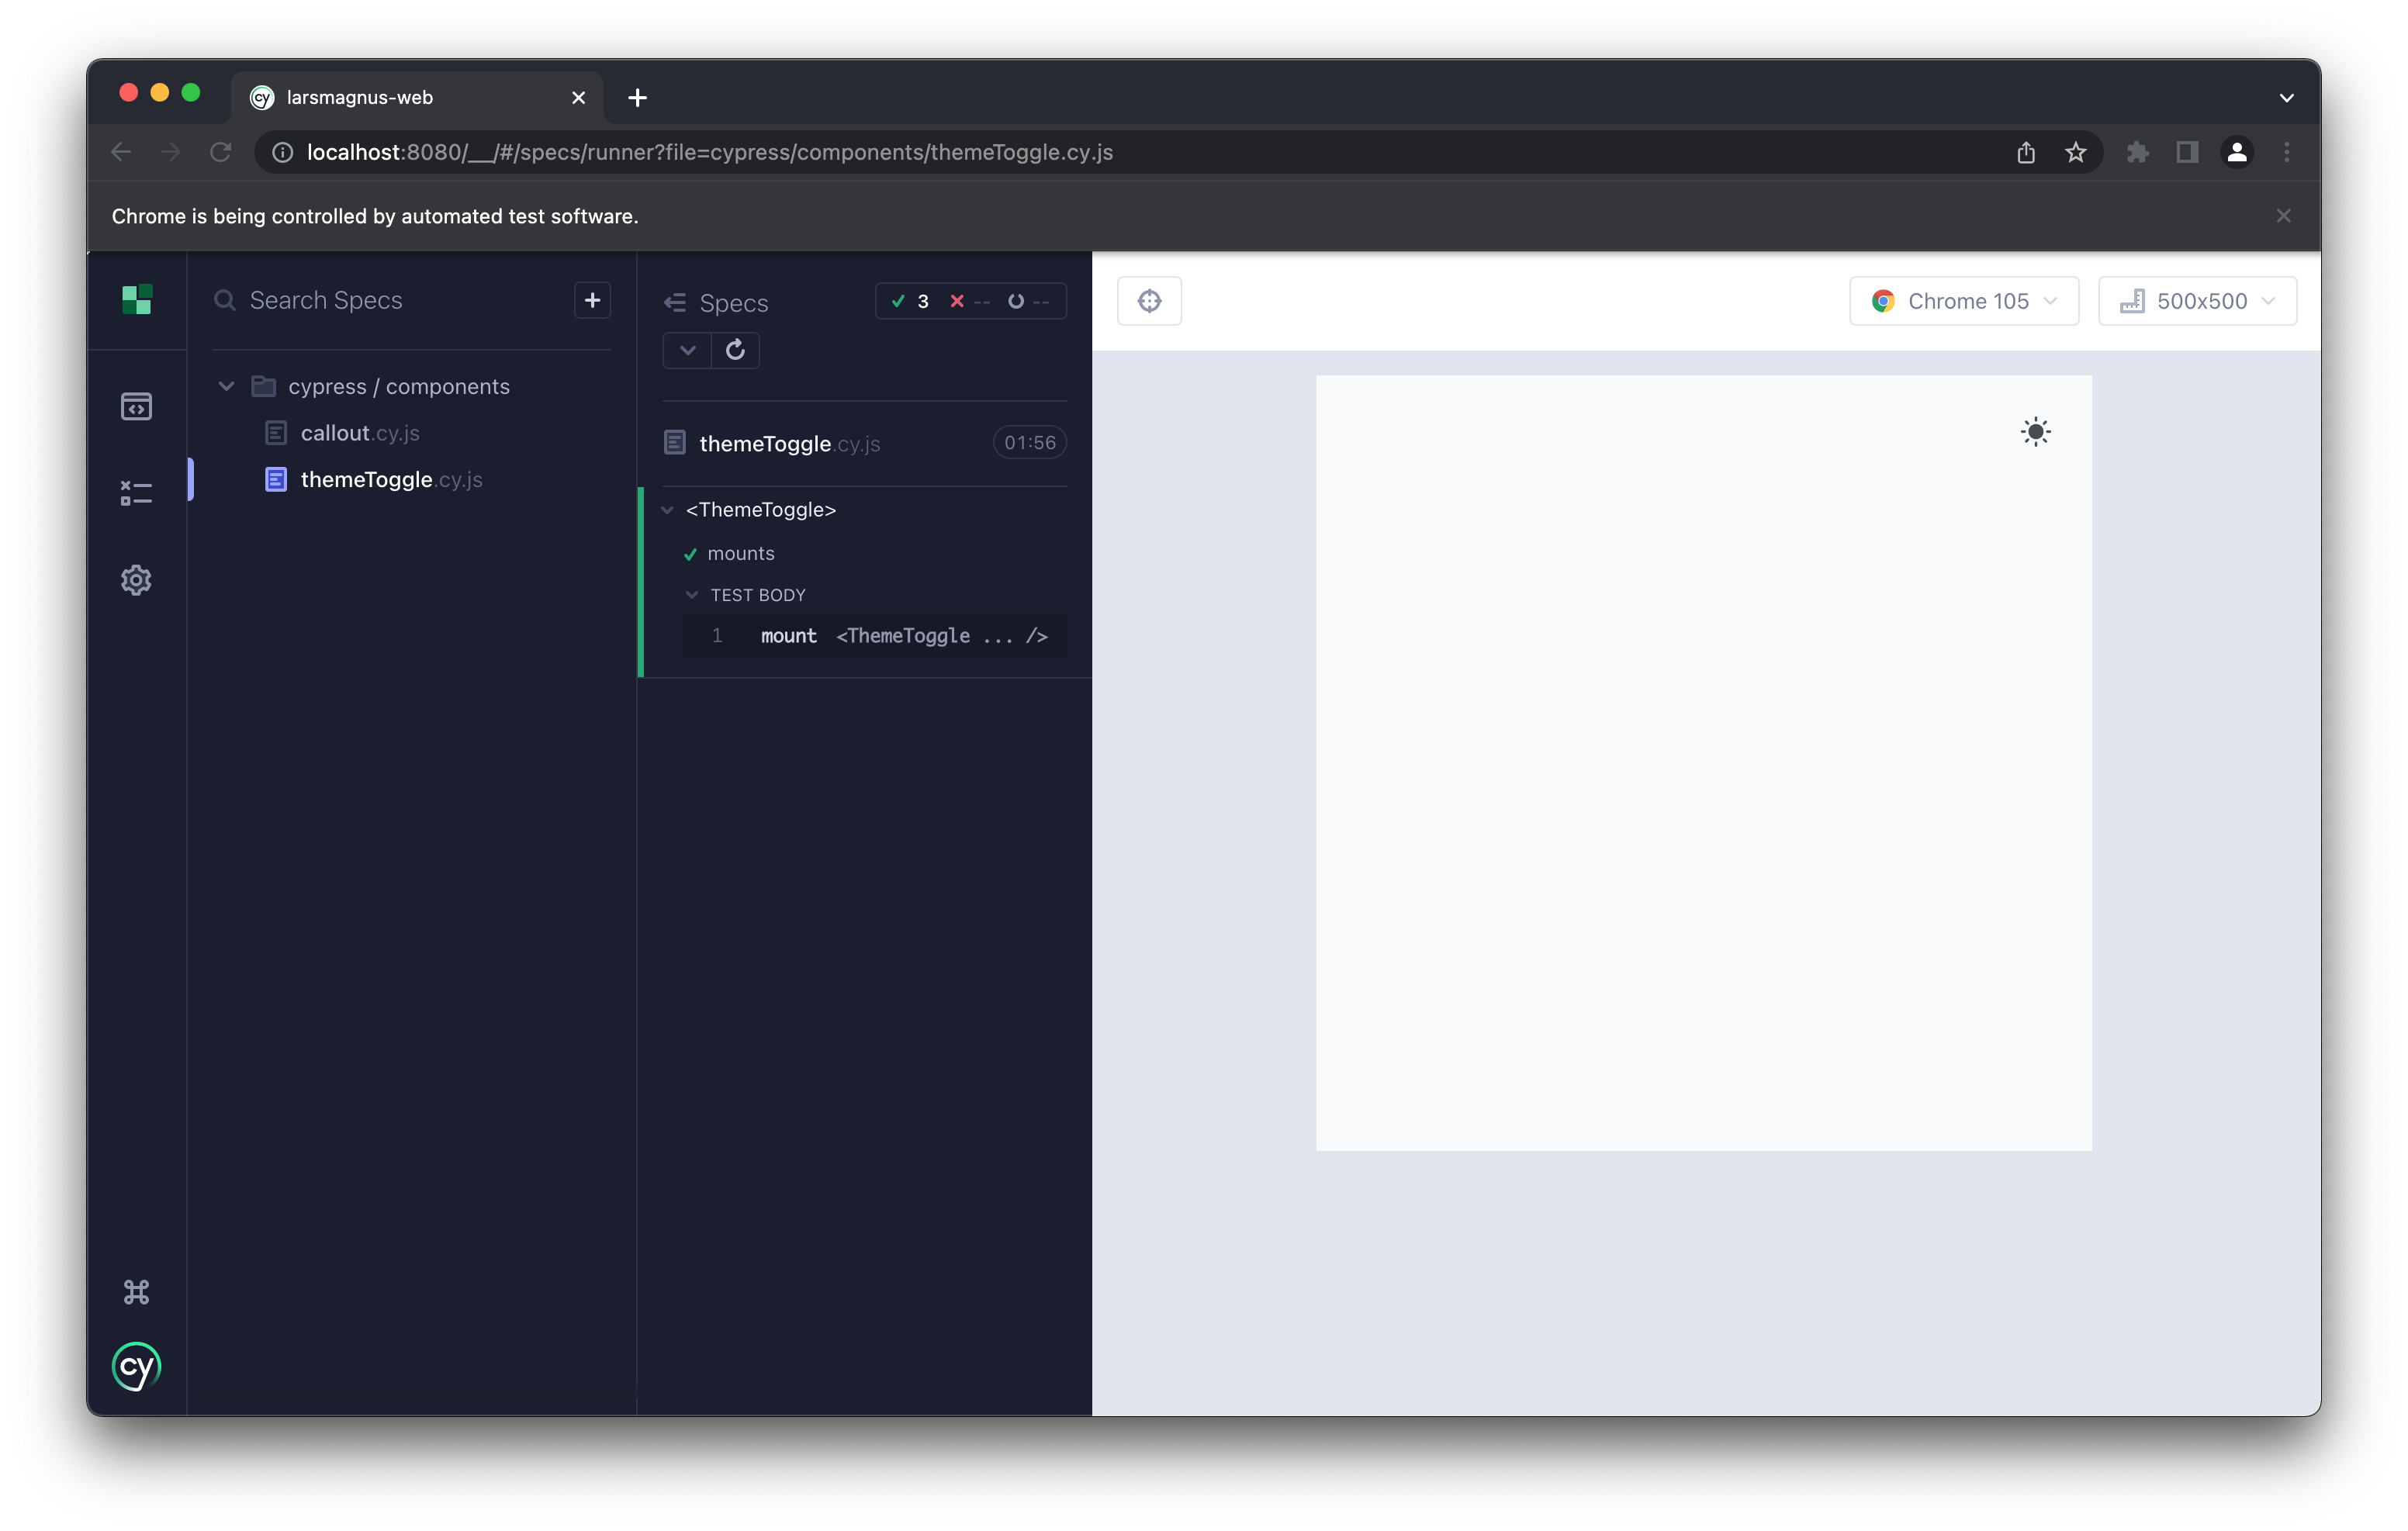
Verify that this works by running yarn cy:open if it isn't running already.
Running tests
With the Cypress app open, navigate to component testing, and the list of component specs should have a file name themeToggle.cy.js. Clicking the filename runs the test.
So, it works, but when using global styles the component won't look right.
Since this project uses CSS modules and SCSS, it needs to be suitably configured in the support file for component testing.
Global styles should be imported directly into the support file for components, to ensure they're included in the standalone component-index.html.
// Ensure global styles are loaded
import '../../src/styles/globals.scss'
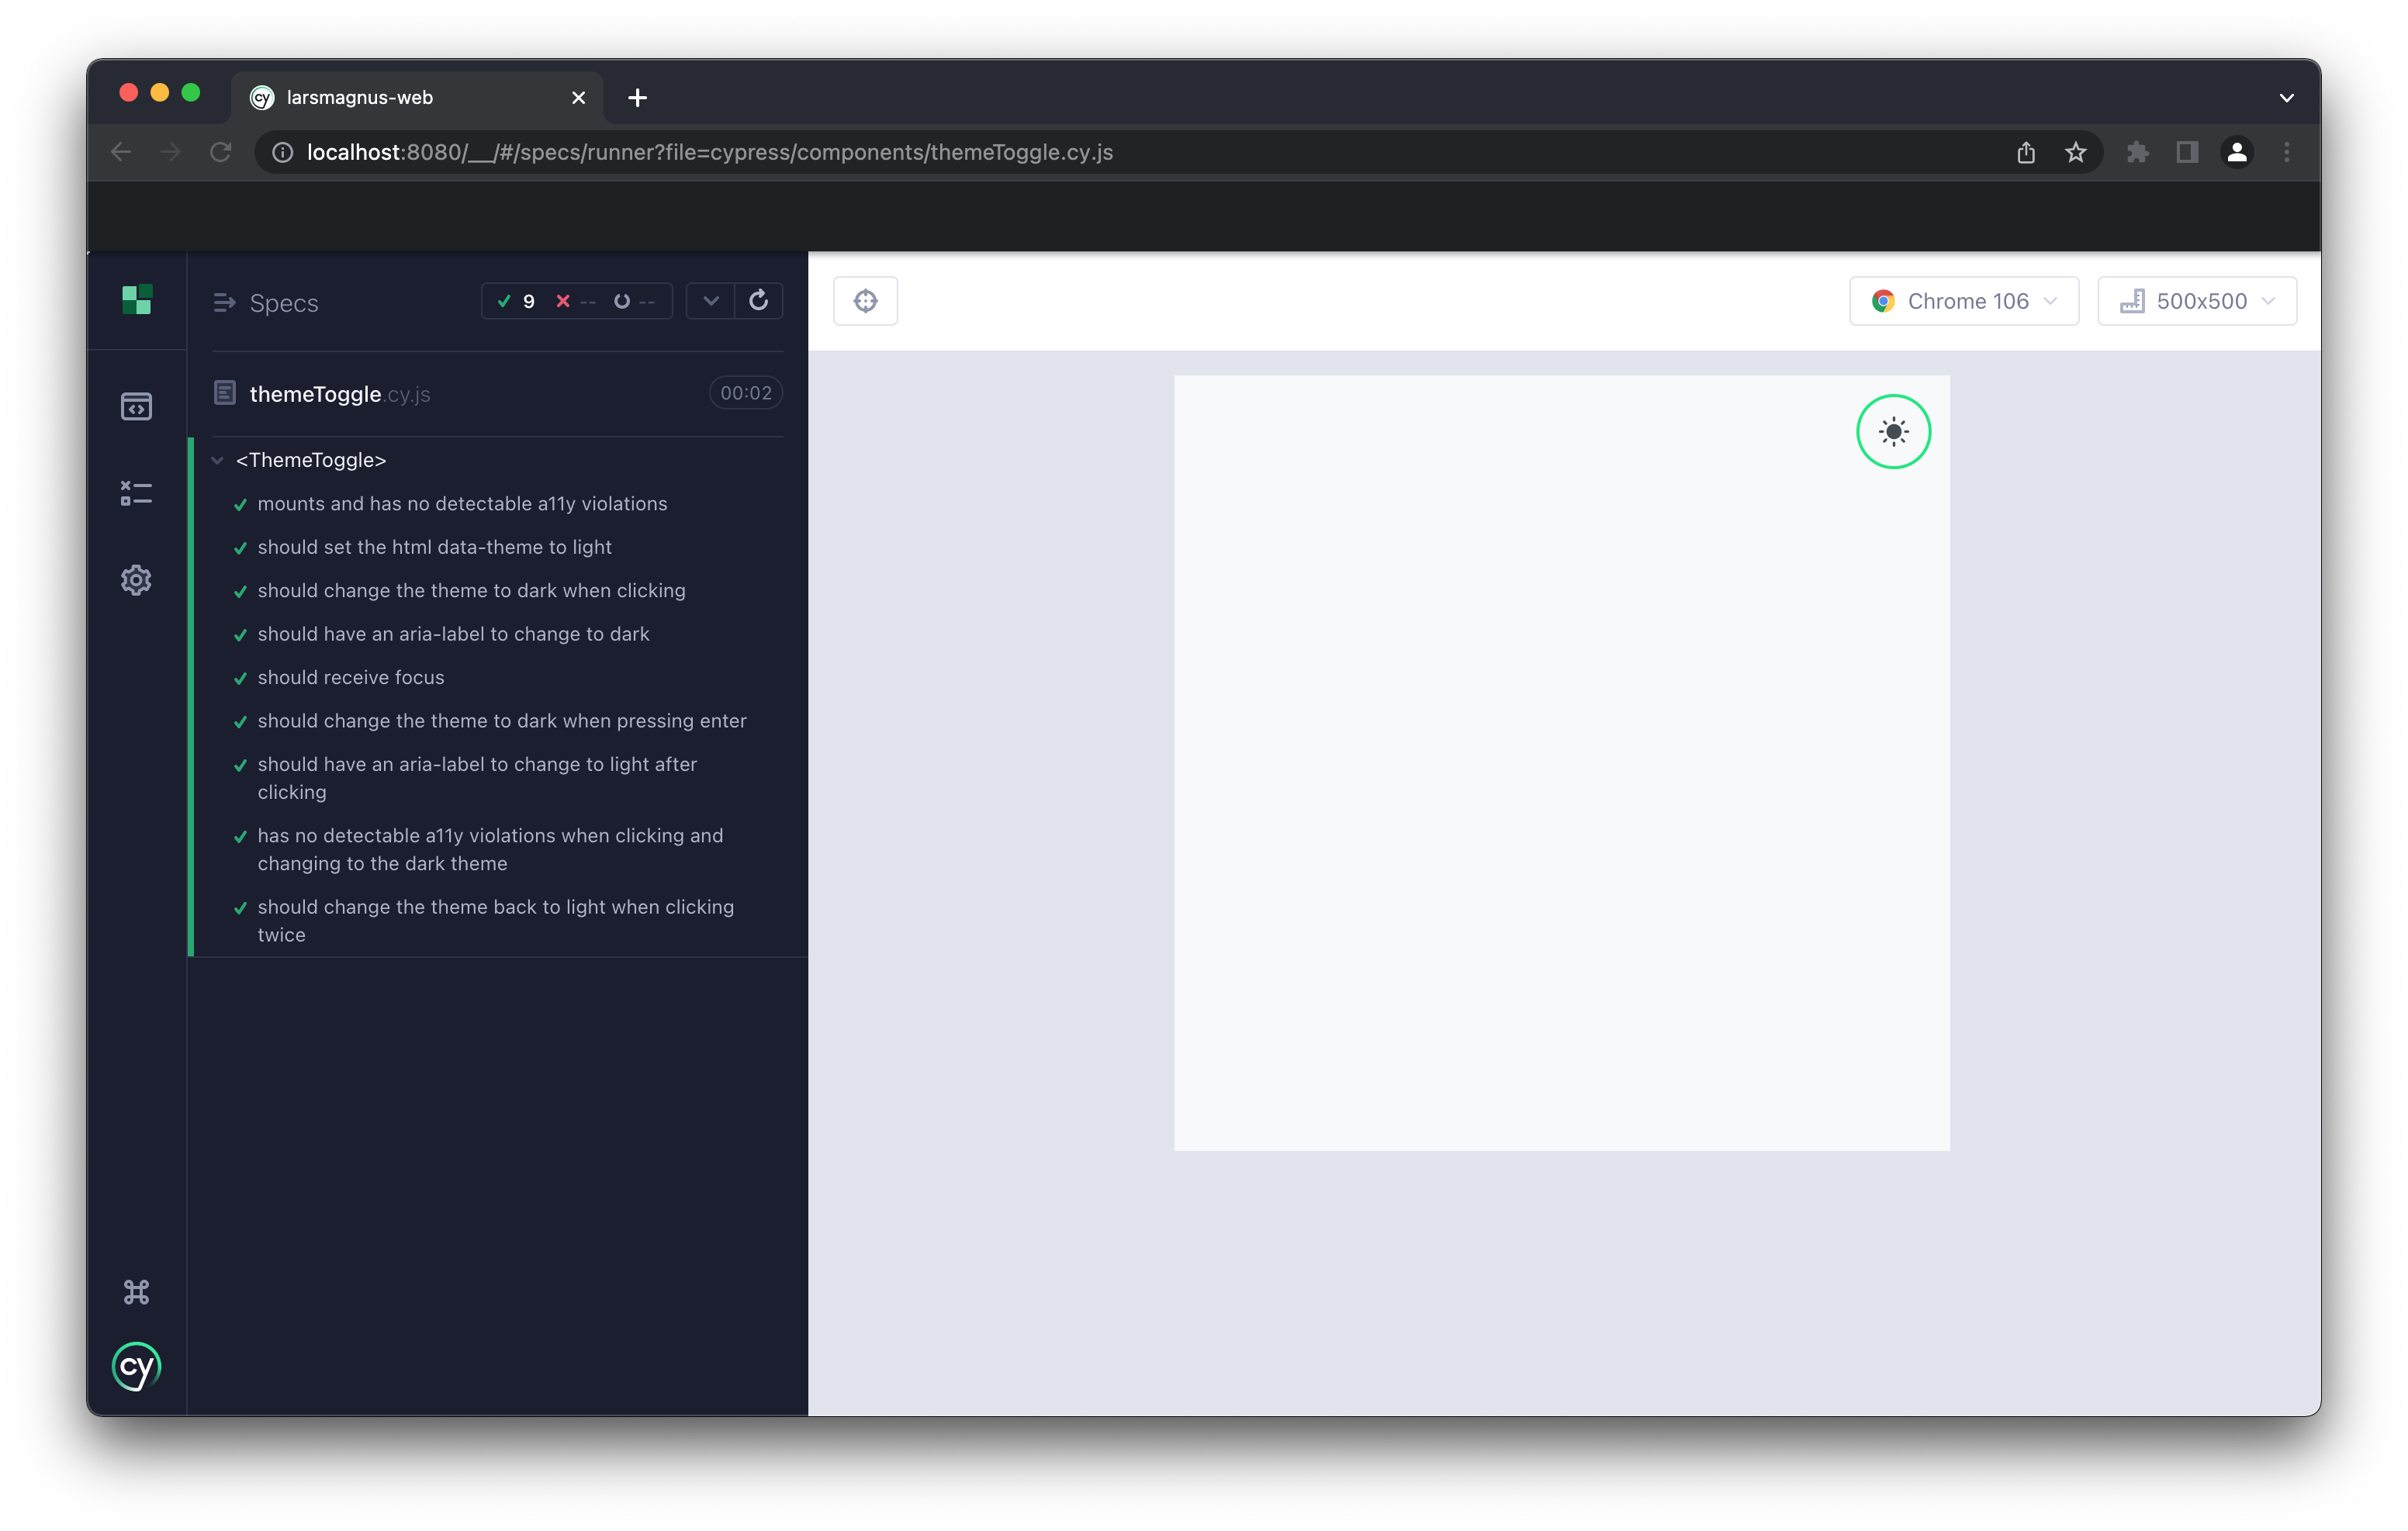
import { mount } from 'cypress/react18'Rerunning the test after adding in the global styles shows us that everything looks the way it should. We're ready to move on to fleshing this out with some additional coverage.
Fleshing out your tests
Working iteratively, let's add in a few more cases and start tidying the tests up a little bit. This is just a first-pass.
Following Cypress' best practices we'll use a decoupled data-cy attribute to target the element for the component.
In this case [data-cy="themeToggle"], remembering to also add it to the <ThemeToggle /> itself.
Moving the selectors to constants makes the test much easier to maintain.
const themeToggleSelector = '[data-cy="themeToggle"]'

describe('<ThemeToggle>', () => {
  beforeEach(() => {
    cy.mount(<ThemeToggle />)
  })

  it(`should set the html data-theme to light by default`, () => {
    cy.get('html').should('have.attr', 'data-theme', 'light')
  })

  it('should change the theme to dark when clicking', () => {
    cy.get(themeToggleSelector).click()

    cy.get('html').should('have.attr', 'data-theme', 'dark')
  })
})
To start off, we can test some simple functionality and interactions. This covers the programmatic toggling of the data attribute controlling the CSS custom properties for light and dark mode. In addition to ensuring that this actually happens when clicking.
Accessibility tests with a component scope
We should leverage automated accessibility testing as much as possible. But keep in mind that the correctness of many accessibility tests needs a high degree of contextual knowledge. So not everything can be automated.
cypress-axe was added earlier, now let's put it to the test. The library runs axe-core under the hood, which is an accessibility testing engine used to test apps against WCAG rules to help find and fix accessibility issues.
Read more about How to test for accessibility with axe-core in Next.js and React.
Though not covered in their documentation at the time of writing, cypress-axe works just as well with component testing as with E2E.
cy.injectAxe()- is used for injecting axe on the page, preparing everything for accessibility testingcy.checkA11y()- used to perform a range of accessibility checks, either on the current page, or on a specified element
The key point is to call cy.injectAxe() command after visiting or mounting components and before calling cy.checkA11y().
Let's clean up some more and move other selectors to constants. Ensuring bit by bit that the spec is easier to maintain.
const themeToggleSelector = '[data-cy="themeToggle"]'
const themeRootSelector = 'html'
const themeDataAttribute = 'data-theme'
const ariaLabel = 'Change colour scheme to'

describe('<ThemeToggle>', () => {
  beforeEach(() => {
    cy.mount(<ThemeToggle />)
    cy.injectAxe()
  })
  //...
})
By default, cy.checkA11y() will run on the entire document. That's not what you'll want when writing an isolated component test.
Luckily, you can pass in the component's selector to define the scope of the analysis to only target the component.
it('mounts and has no detectable a11y violations', () => {
  cy.checkA11y(themeToggleSelector)
})
Adding in some tests for aria-label and the ability to receive focus starts rounding out the test nicely.
Make sure to check that you don't have any accessibility violations after changing to the dark theme! It may lack contrast for any text, have aria-labels gone missing or any other common issues.
it('has no detectable a11y violations when clicking and changing to the dark theme', () => {
  cy.get(themeToggleSelector).click()

  cy.checkA11y(themeToggleSelector)
})
Since ThemeToggle is an icon button, it's critical that it has aria-labels that clearly communicate any state changes.
it('should have an aria-label to change to dark', () => {
  cy.get(themeToggleSelector)
    .should('be.visible')
    .and('have.attr', 'aria-label', `${ariaLabel} dark`)
})
Quickly covering some basic keyboard navigation is straightforward. For a first iteration, the ability to receive focus and being able to press enter are excellent contenders to increase the coverage.
it('should receive focus', () => {
  cy.get(themeToggleSelector).focus().should('be.focused')
})

it('should change the theme to dark when pressing enter', () => {
  cy.get(themeToggleSelector).type('{enter}')

  cy.get(themeRootSelector).should(
    'have.attr',
    themeDataAttribute,
    'dark'
  )
})
Finally, let's wrap up this first pass of tests. We'll add an explicit test to check the aria-label after the toggle has been activated and that the toggle can actually return to its first state.
it('should have an aria-label to change to light after clicking', () => {
  cy.get(themeToggleSelector).click()

  cy.get(themeToggleSelector)
    .should('be.visible')
    .and('be.focused')
    .and('have.attr', 'aria-label', `${ariaLabel} light`)
})

it('should change the theme back to light when clicking twice', () => {
  cy.get(themeToggleSelector).click().click()

  cy.get(themeRootSelector).should(
    'have.attr',
    themeDataAttribute,
    'light'
  )
})
Keep in mind that the tests covered so far are only to illustrate a starting point. They're not indicative of the full suite of tests you should write. 🙏
I encourage you to write more tests than what we have covered so far.
Don't forget to run yarn cy:run to test all your component specs headlessly, or use yarn cy:open to execute the spec manually.
At the end of the day, your tests are for people
Labels like "unit tests" and "integration tests" are often thrown around by developers when testing components to describe the differences in concerns and scope.
The labels don't actually matter. They're a conversational tool. Expectations are what's important.
Thinking in terms of the goals, expectations and motivations of the audience of the test may be simpler, and more valuable. Tests exist to prove to a person that something works "as expected", and different people will expect different things.
Component tests sit comfortably in a position that covers unit, integration and visual tests. And that's a good thing.
Don't worry too much about which labels to use when describing these tests. The concept of component testing is still young, so suitable terms will eventually follow.
So, go write some tests that give you confidence that you're shipping value. The value people are expecting.